Role Configuration Guide
This guide explains how to create and configure roles from the admin application.
Create a role
-
Sign in to the admin application with an administrator account.
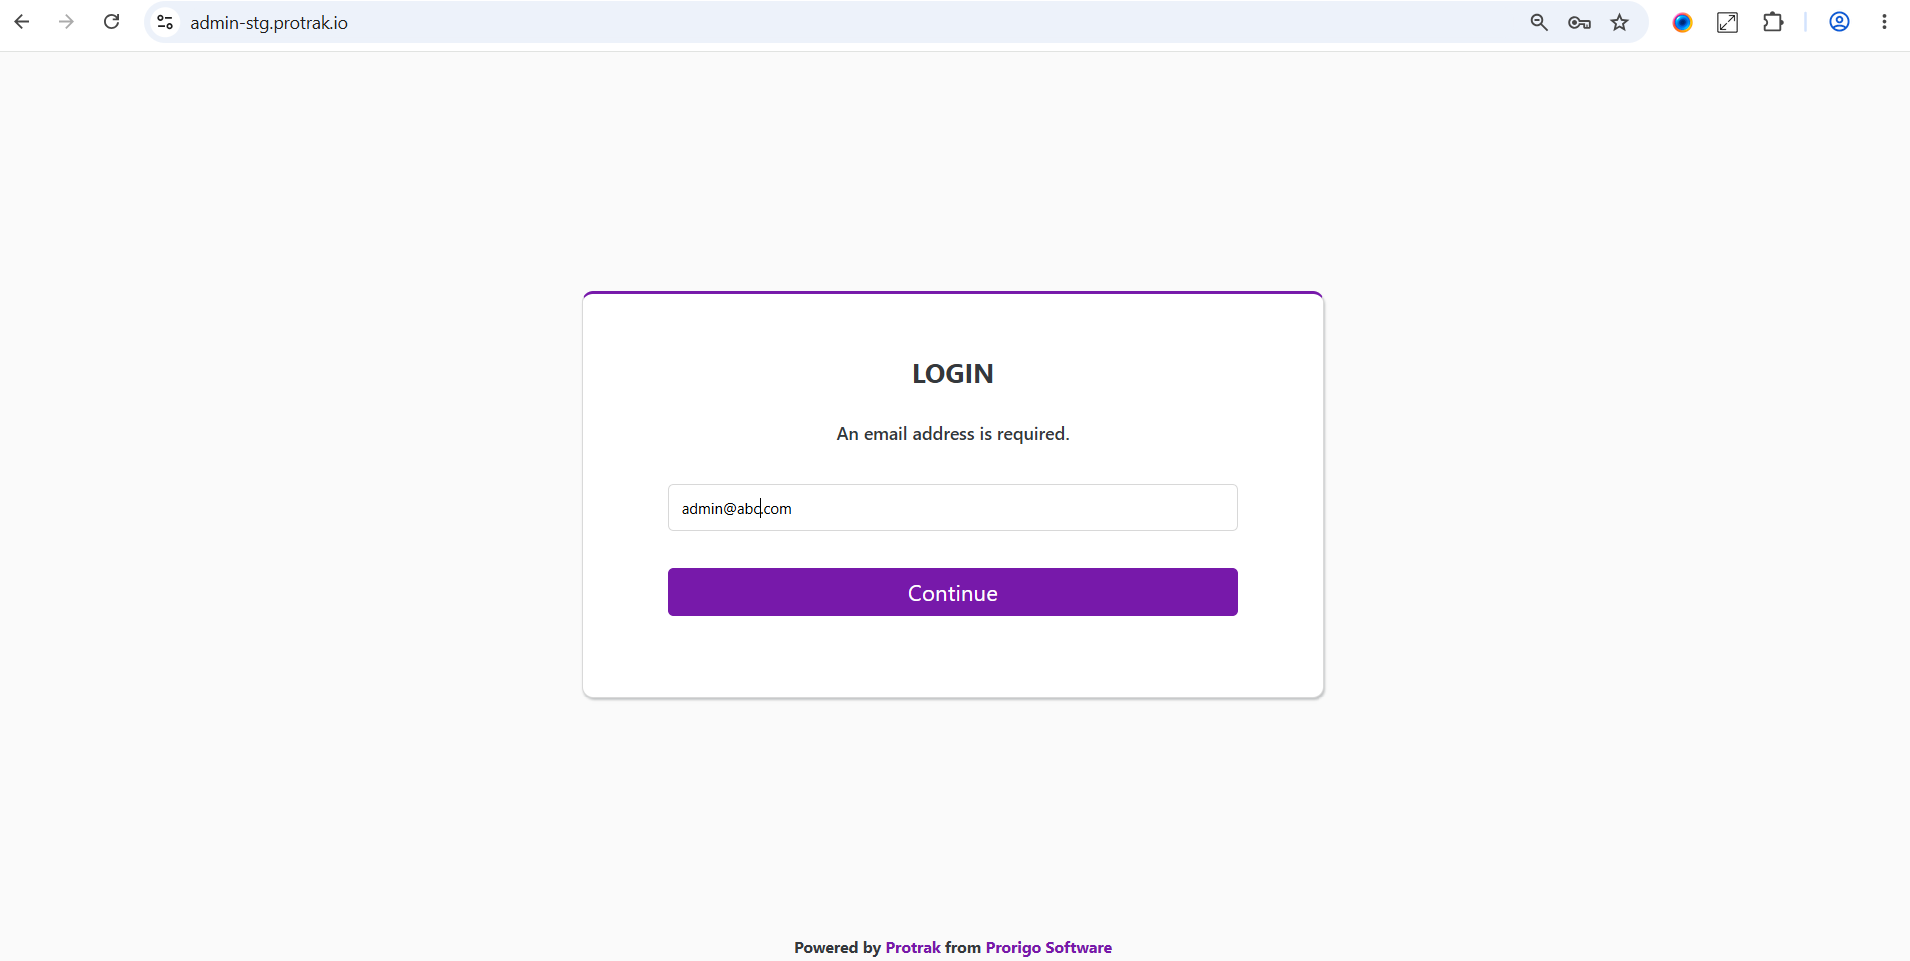
-
Open
Schema, then selectRoles. ClickCreateto open the role editor.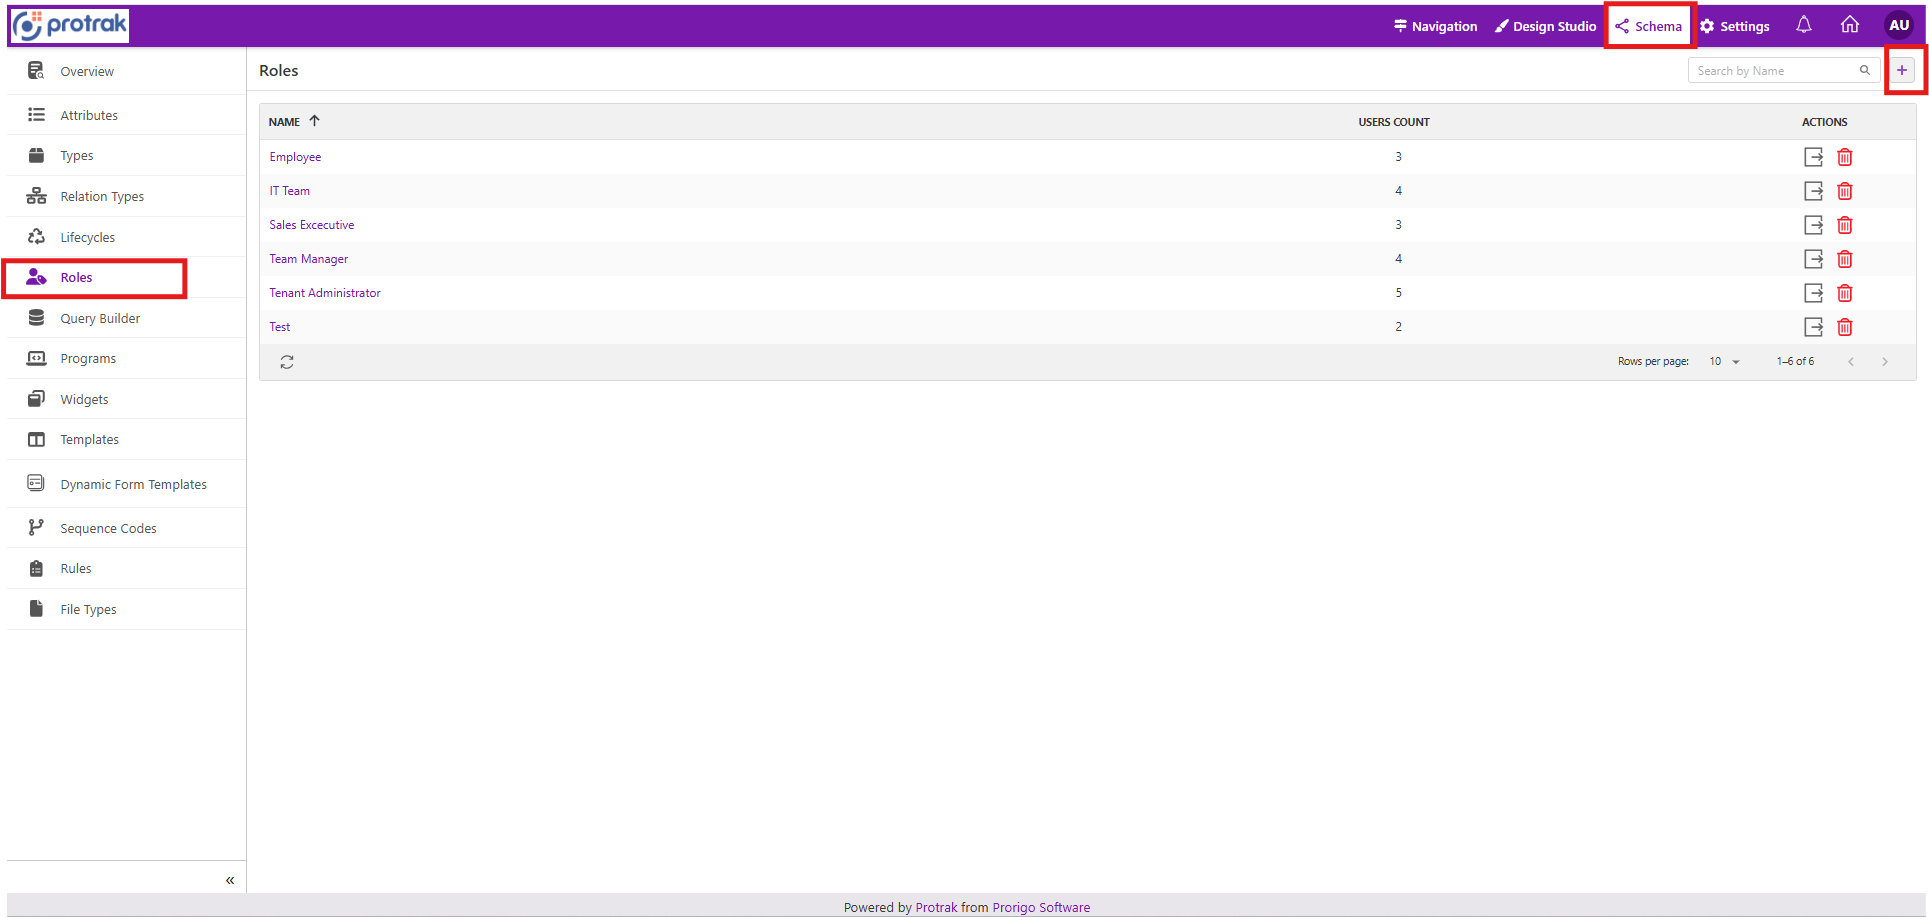
-
Enter the role name. From the Permissions dropdown choose the required option.
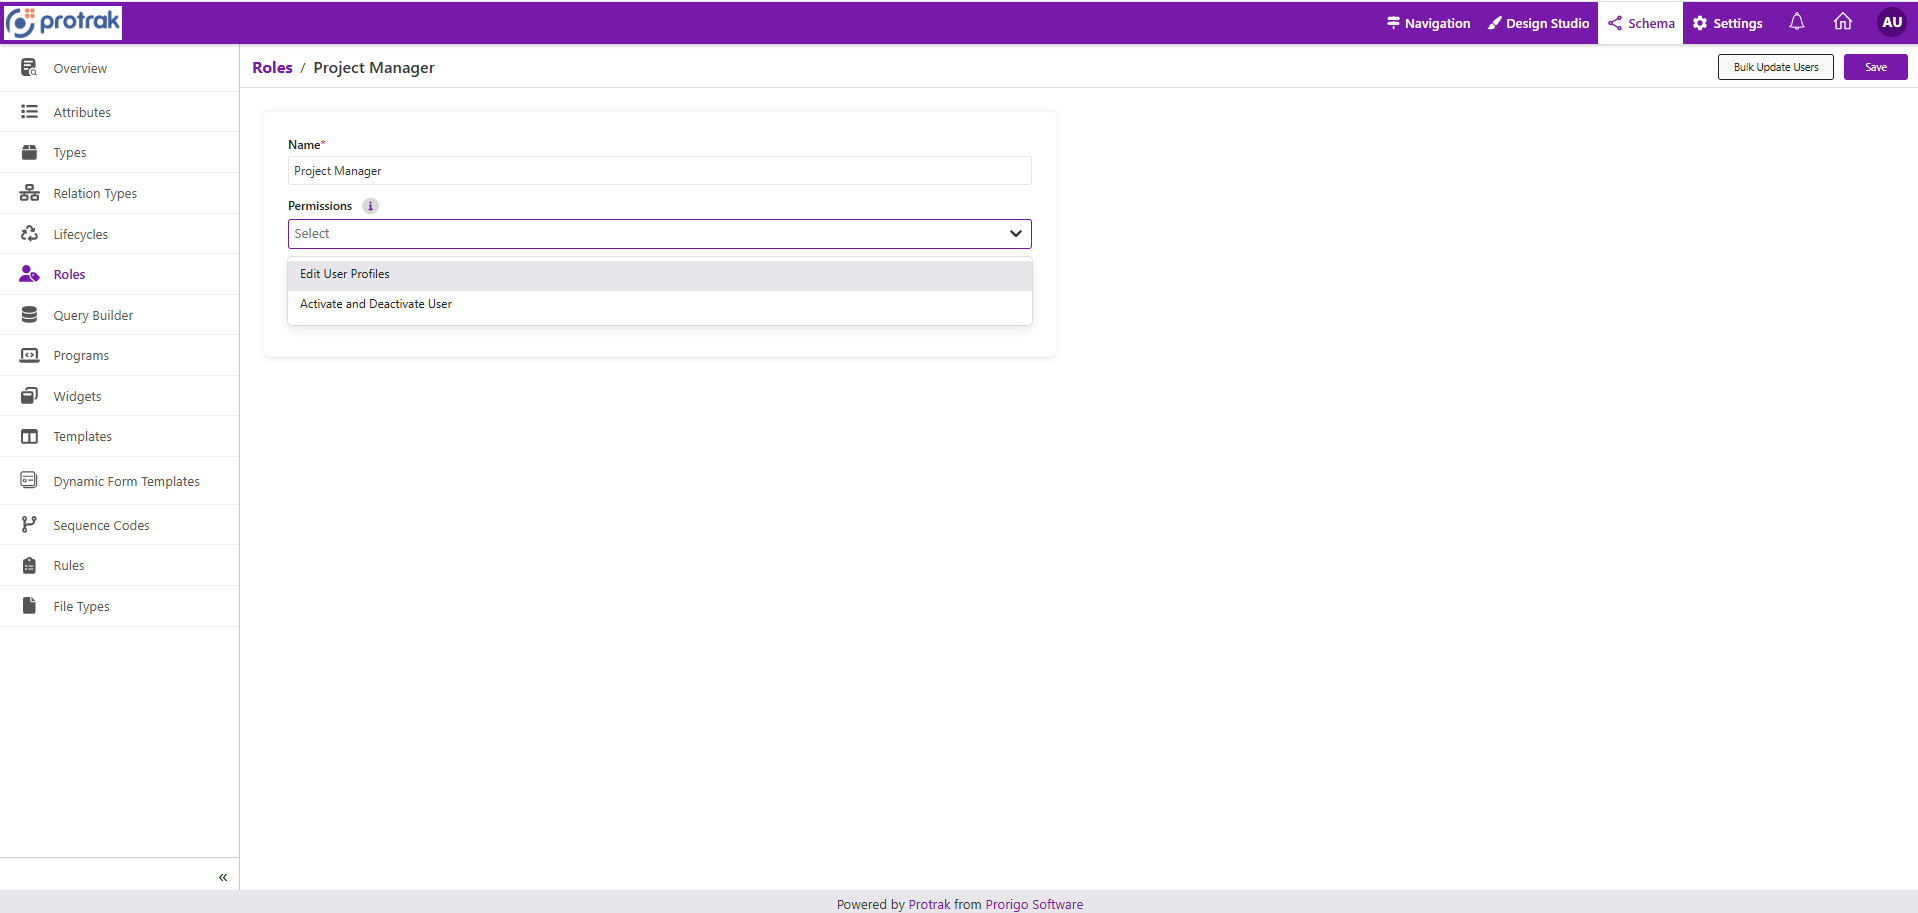
This section outlines the permissions available to non-admin users within the application. These permissions define the level of access and actions allowed for user profile functionality.
Table below describes the Permission options:
Permission Description Edit User Profiles Grants users the ability to update the basic profile details for all user profiles they have access to in the application. Users must have a role with the Edit User Profilespermission andEdit BasicsorEdit Attributesoperation permission in the UserProfile lifecycle. This is a special case for the standardUserProfiletype.Activate and Deactivate User Activate User: Grants users the ability to enable a user account so the user can access the system. This permission is typically used when a new user is added or when a previously deactivated user needs access again.
Deactivate User: Grants users the ability to disable a user account and prevent the user from accessing the system. This is useful for users who no longer need access, such as former employees or users who have violated policies.Note: Permissions are role-based and should be assigned carefully to maintain appropriate access control.
-
Leave it empty if o permissions are required. Click
Saveto create the role.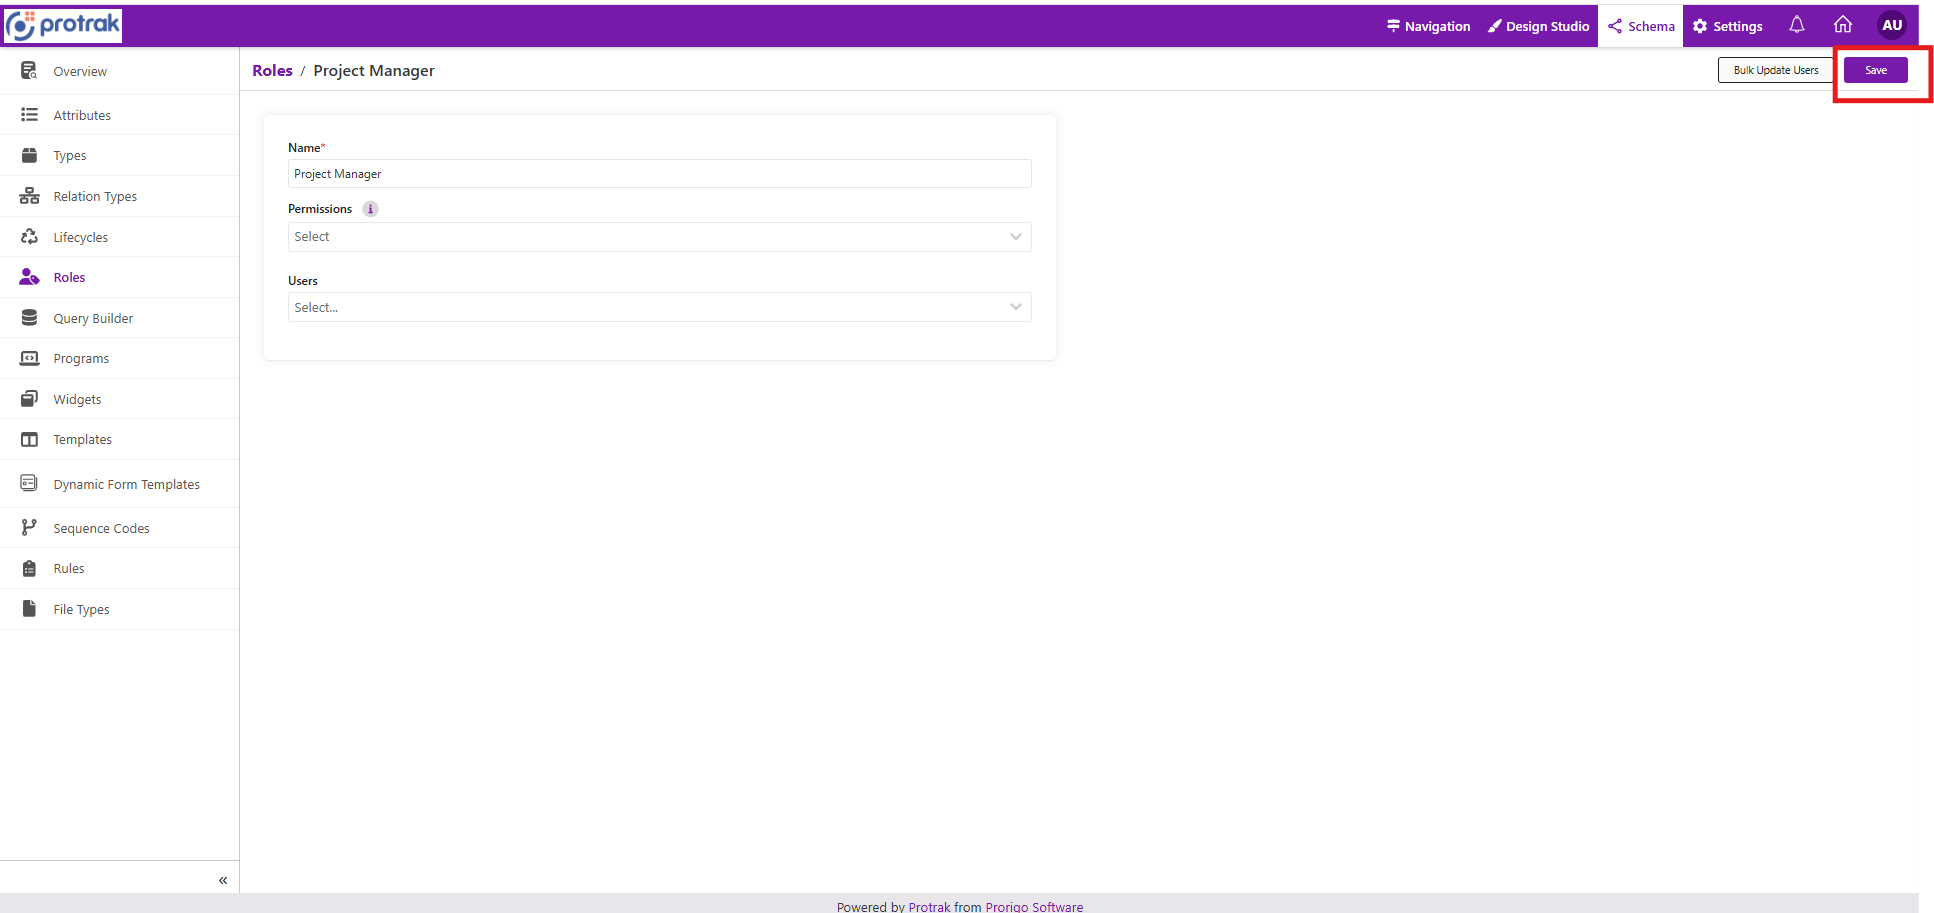
-
Assign users to the role from user dropdown or through the configured user profile process.
-
Validate the application with users in each role, including allowed and restricted experiences.
Where roles are used
After creating a role, use it to configure access across the application:
- Type-level access for create and report permissions.
- Lifecycle state permissions and promote-action access.
- Design Studio templates, forms, containers, and widgets for role-specific visibility.
- Rules or access policies when access depends on both the user's role and the current record context.
- Configure type-level access for create and report permissions where the role needs access.
Notes
- Name roles after responsibilities, not individual people.
- Keep role sets simple; use lifecycle permissions, rules, or access policies for context-specific behavior.
- Review templates, widgets, lifecycle actions, rules, access policies, notifications, and programs before renaming or removing a role.
- Validate both allowed and restricted experiences after changing role assignments.